


How to Connect Your Flue Liner to Your Stove Pipe
You’ve spent a long time selecting your stove. Picking out your favourite style, researching the different features, selecting your desired fuel type. There’s a lot to consider. But there’s something else you should take into account. How will your stove connect to your flue liner?
Read on to find out how to connect your flue liner to your stove pipe.
What is a flue liner?
Before we go on to talk about connecting your flue liner to your stove pipe, let’s define what a flue liner actually is.
Like any other liner, a flue liner is designed to provide a channel. In the case of a flue liner, it is designed to channel smoke and other combustibles from a solid fuel appliance (such as a wood burning stove) away from the inside of your home and out into the open air.
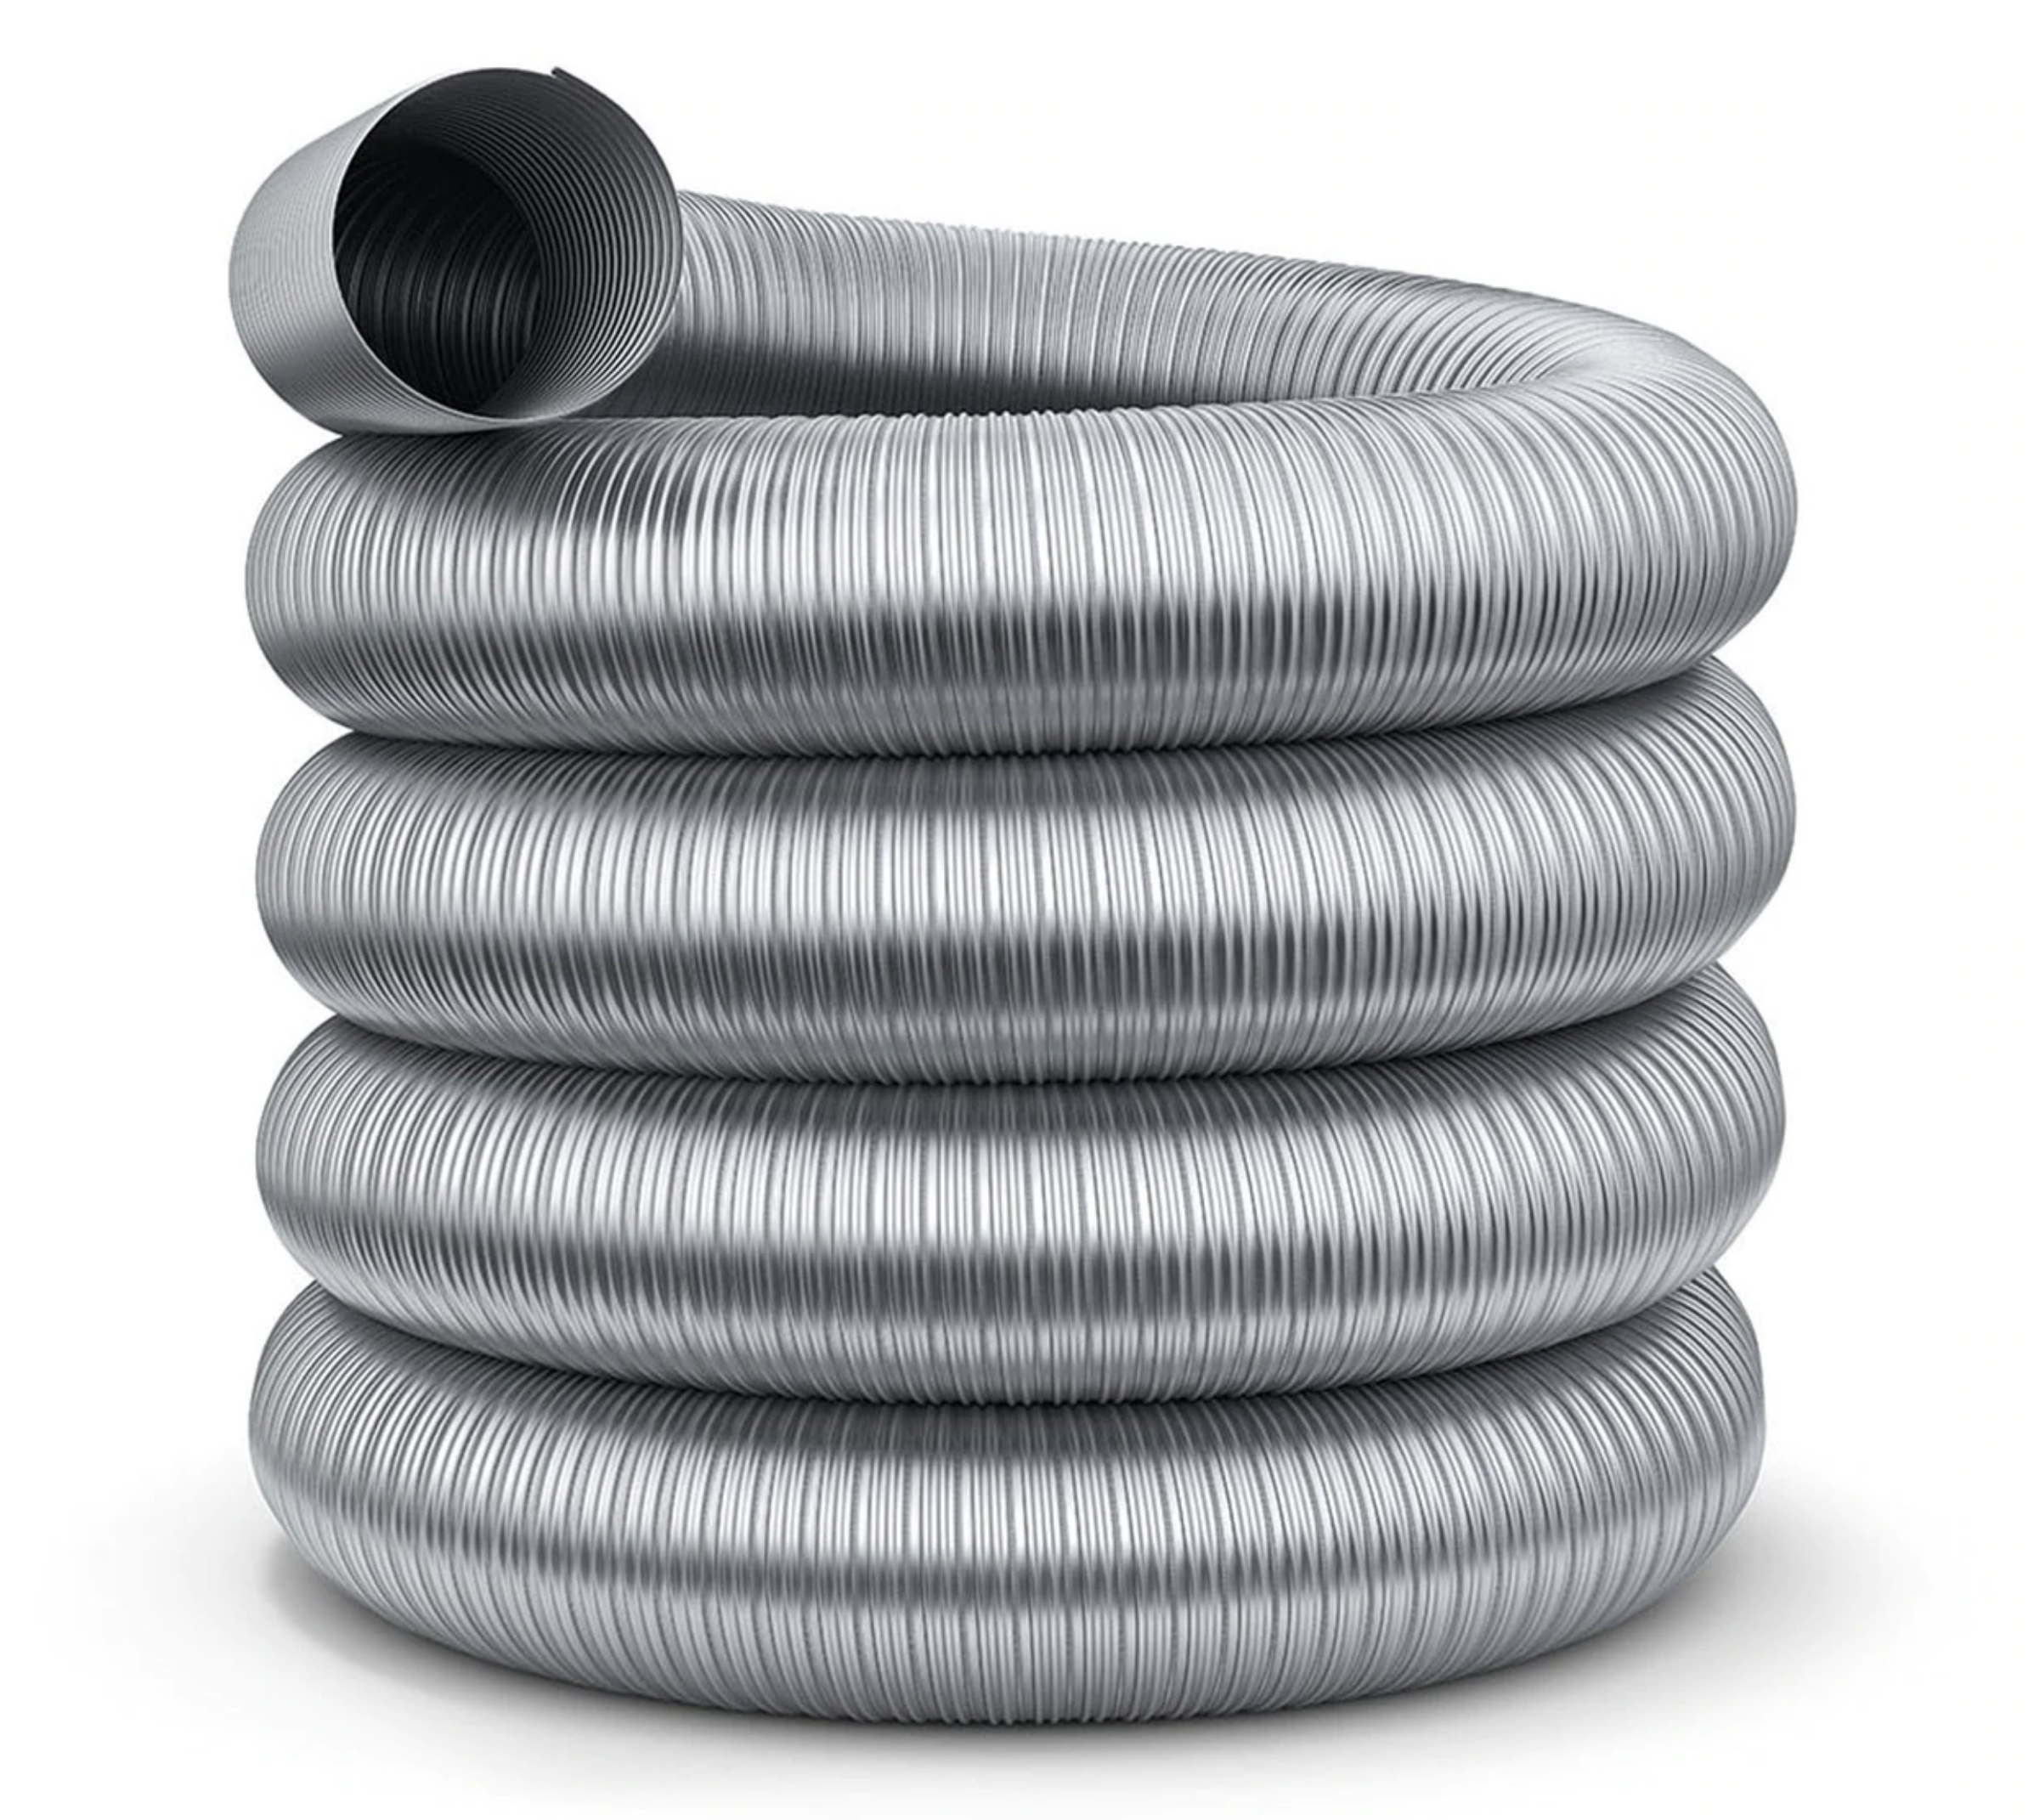
(Pictured: 5” 316 Super Flex Chimney Flue Liner).
The alternative to using a flue liner is to allow the fumes from your stove to be released straight into your chimney cavity. However, this is not recommended. This is because of several factors:
> If your chimney is not sound, then smoke and carbon dioxide could potentially seep into your home (or your neighbour’s if they have an adjoining chimney breast).
> Hot air does not rise well in cold chimney cavities (especially where there are heat-stealing voids or non-smooth surfaces). If the smoke cools down too much on its way up the chimney it can stop or even sink back down.
> If the smoke from your stove does slow down in the chimney cavity then it will deposit tar and condensation on the brickwork of the chimney. Over time, these deposits can build up and eventually bleed through the mortar into your house, damaging plaster and paintwork.
> Without a flue liner, the slower smoke draw will build up behind your stove causing it to burn poorly and reducing its performance.
> Unlined chimneys are also more prone to fires. Fires in flue liners are extremely rare, and if the worst does happen, any fire will be contained within the stainless steel tube of the liner.
It’s important that in addition to your new stove, you ensure you also have a flue liner in place.
If you’re not sure if you have a flue liner, a chimney inspector will be able to help. As well as being able to tell you if your chimney is lined or not, they will be able to test the liner to check it is operating properly, with no leaks or blockages.
What type of flue liner should I buy?
If you find that you don’t already have a flue liner in your chimney, then we strongly recommend that you invest in one.
The type of stove that you have bought will determine what type (and size) flue liner you will need. Most manufacturers will specify the size of flue liner to use with their stoves. It’s very important that you always use the recommended size flue liner for your stove.
The general rule of thumb is that stoves of up to 20kW should be connected to a flue liner with a minimum diameter of 6”. However,if you have a DEFRA approved stove you may use a 5” diameter flue liner (provided the stove manufacturer states that it’s compatible).
As well as the diameter of your flue liner, you should think about what grade liner you want to install.
There are two main types of flue liner. The first is 316 grade, which is the cheaper option but only really suitable if you’ll be burning seasoned wood. The second type is 904 grade, which is more expensive, but far more durable. You should be using this grade if you intend on burning smokeless fuel frequently.
You can explore Trade Price Flues’ complete range of chimney flue liners here.
Fitting a flue liner to your stove pipe
Given that a flue liner runs the length of your chimney, it’s recommended that for the installation of the flue liner, you use the services of a qualified professional. This is especially important if your chimney extends beyond a single storey in height. A professional will use safety scaffolding to ensure the flue is fitted safely. You can find out more about the process of fitting a flue liner here.
Once that flue liner is in place though, it’s time to look at fitting the flue liner to your stove pipe.
Positioning your stove
Where your stove is positioned in relation to your chimney cavity will determine how you connect it to your flue liner.
The most common position involves the stove positioned with the rear half of the stove within the chimney cavity and the front half of the stove protruding out from the cavity into the living space. This position will require you to connect your stove to the flue liner using two ‘elbows’ from the top of the stove. This prevents the back of the stove being too close to the rear wall of the chimney cavity. It also makes access easier for when you need to sweep soot.
Alternatively, if you wish to bring the stove more into your living space, then you can connect the flue liner to the rear of the stove using a 90 degree Tee Piece. If you choose to position your stove in this way though, make sure you have sufficient access to the rear of the chimney cavity to allow for soot collection.
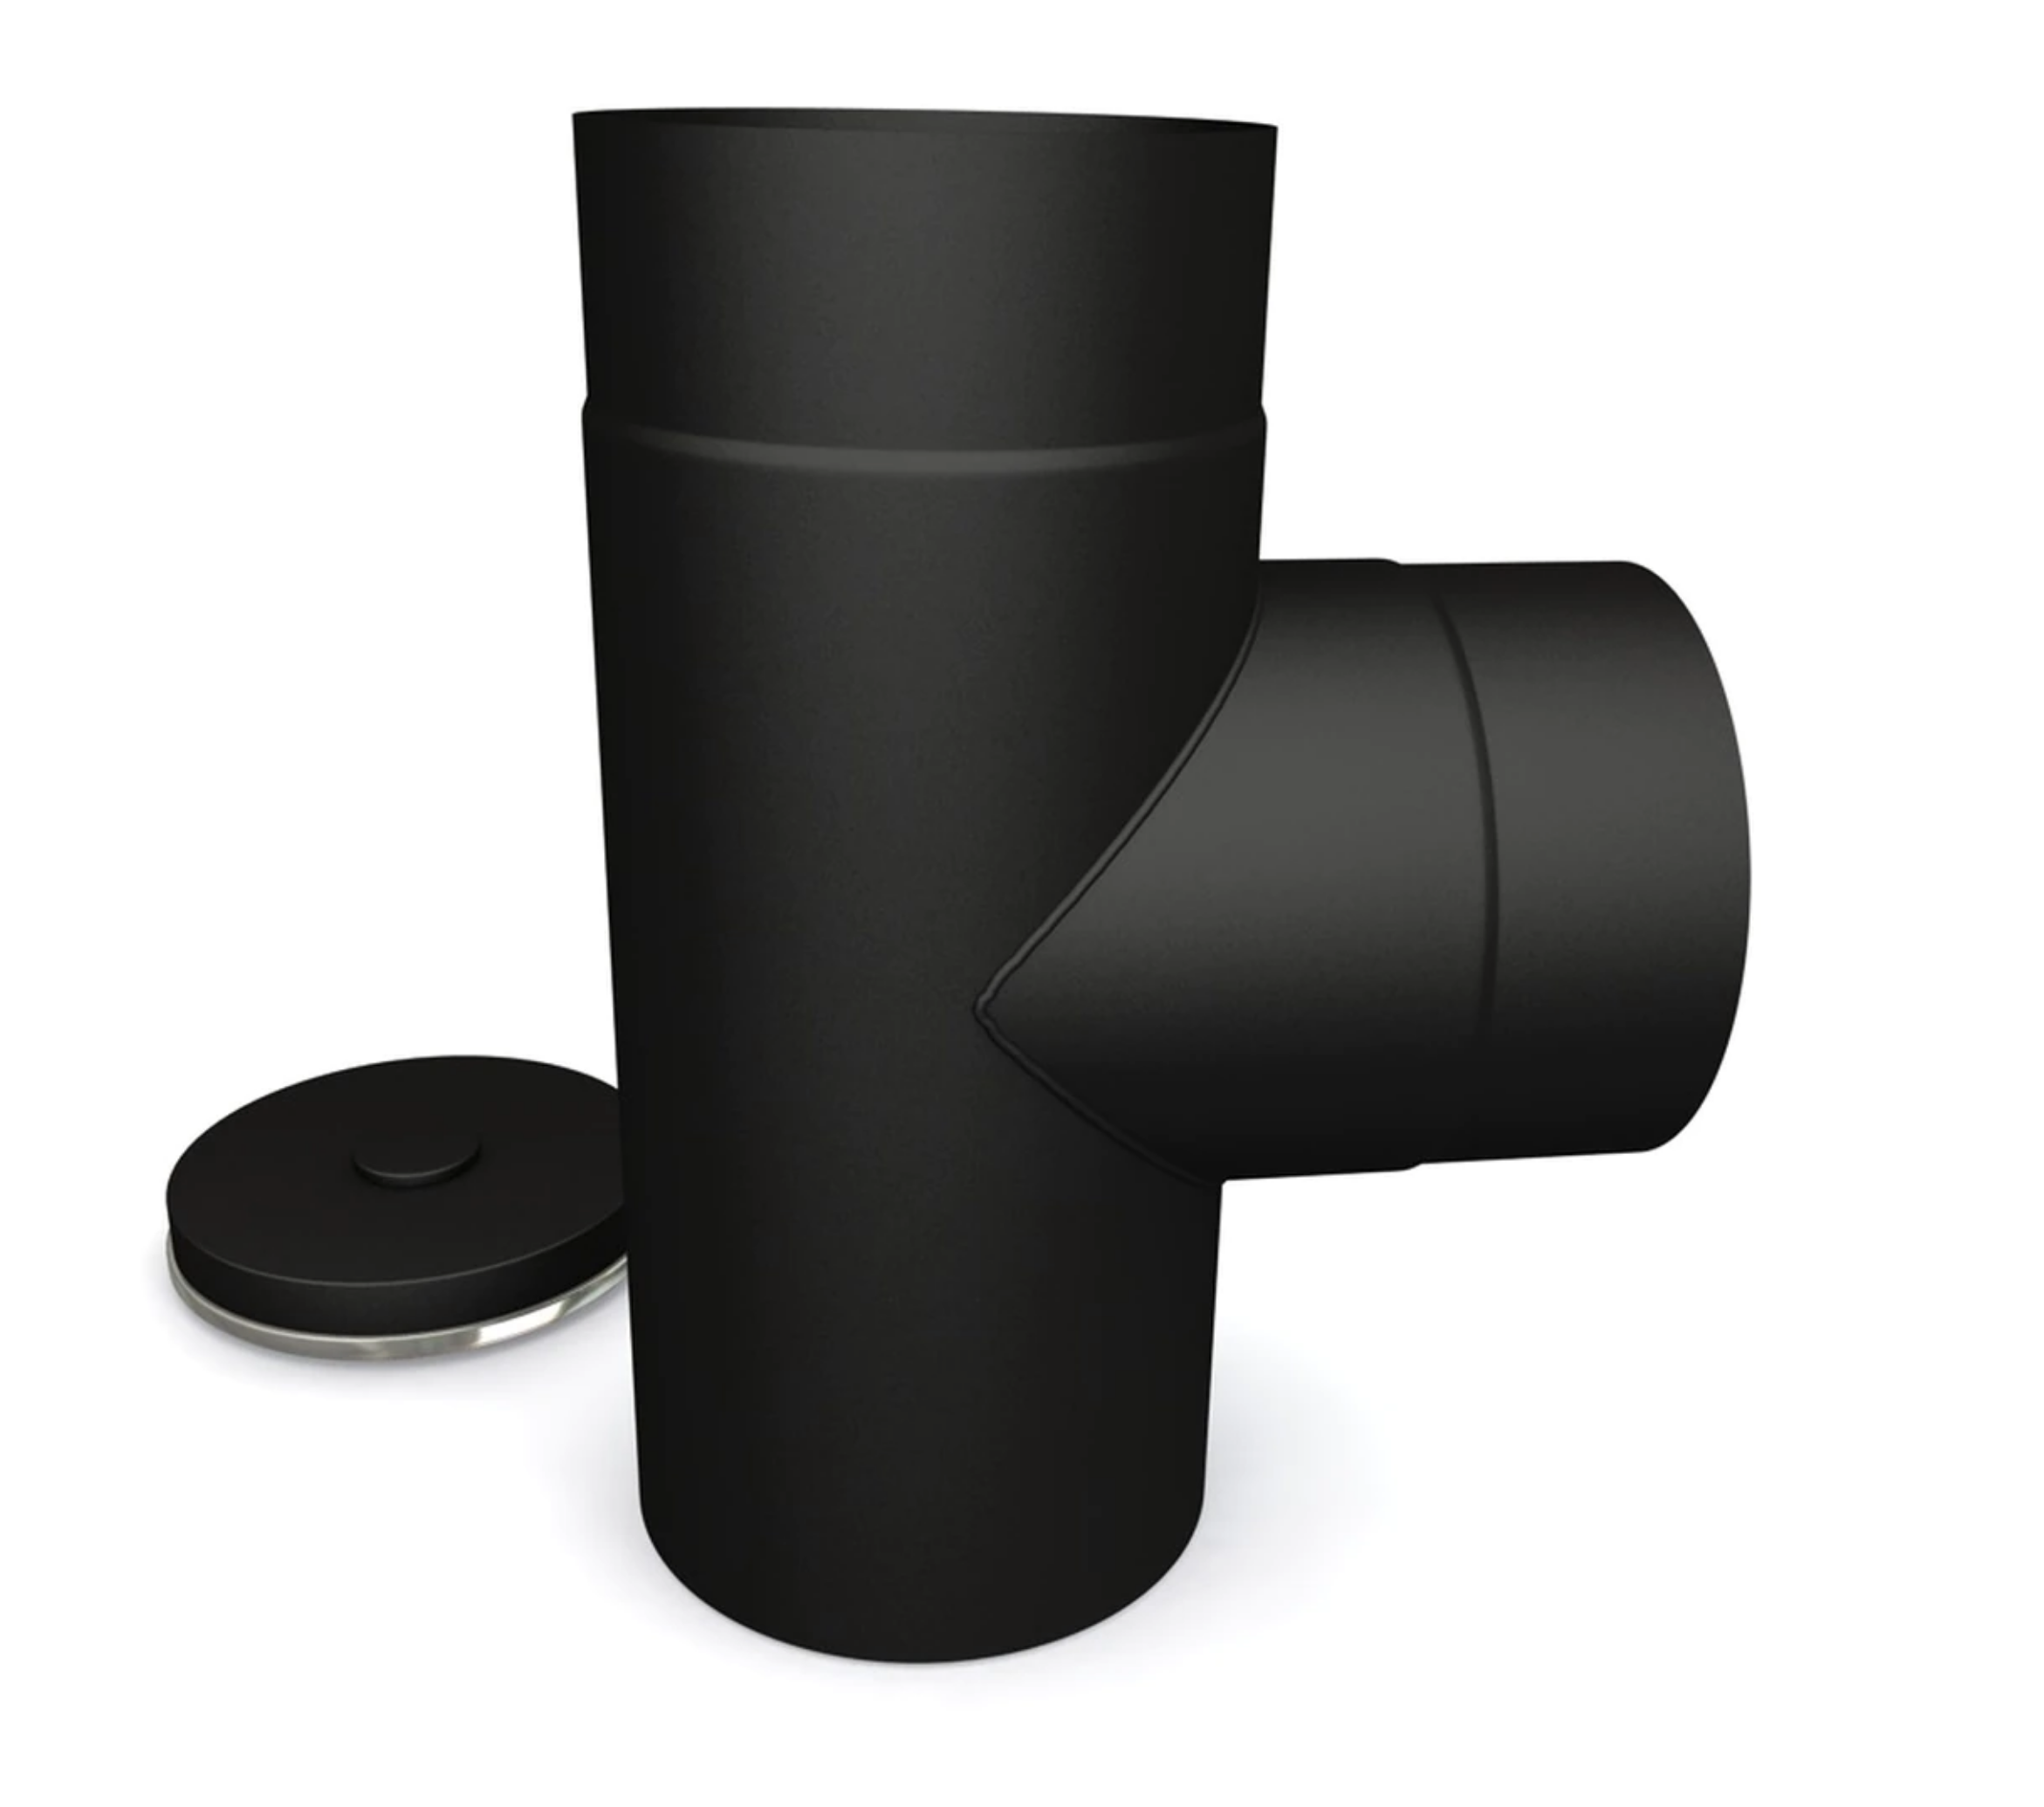
(Pictured: 4” 90 Degree Tee Piece Matt Black Stove Flue Pipe).
The third option is to use a 45 degree bend stove flue pipe fitted to the rear of the stove. This set-up is ideal for when you want to bring a smaller stove more into your living space if the chimney cavity allows less air gap left and right than is optimal.
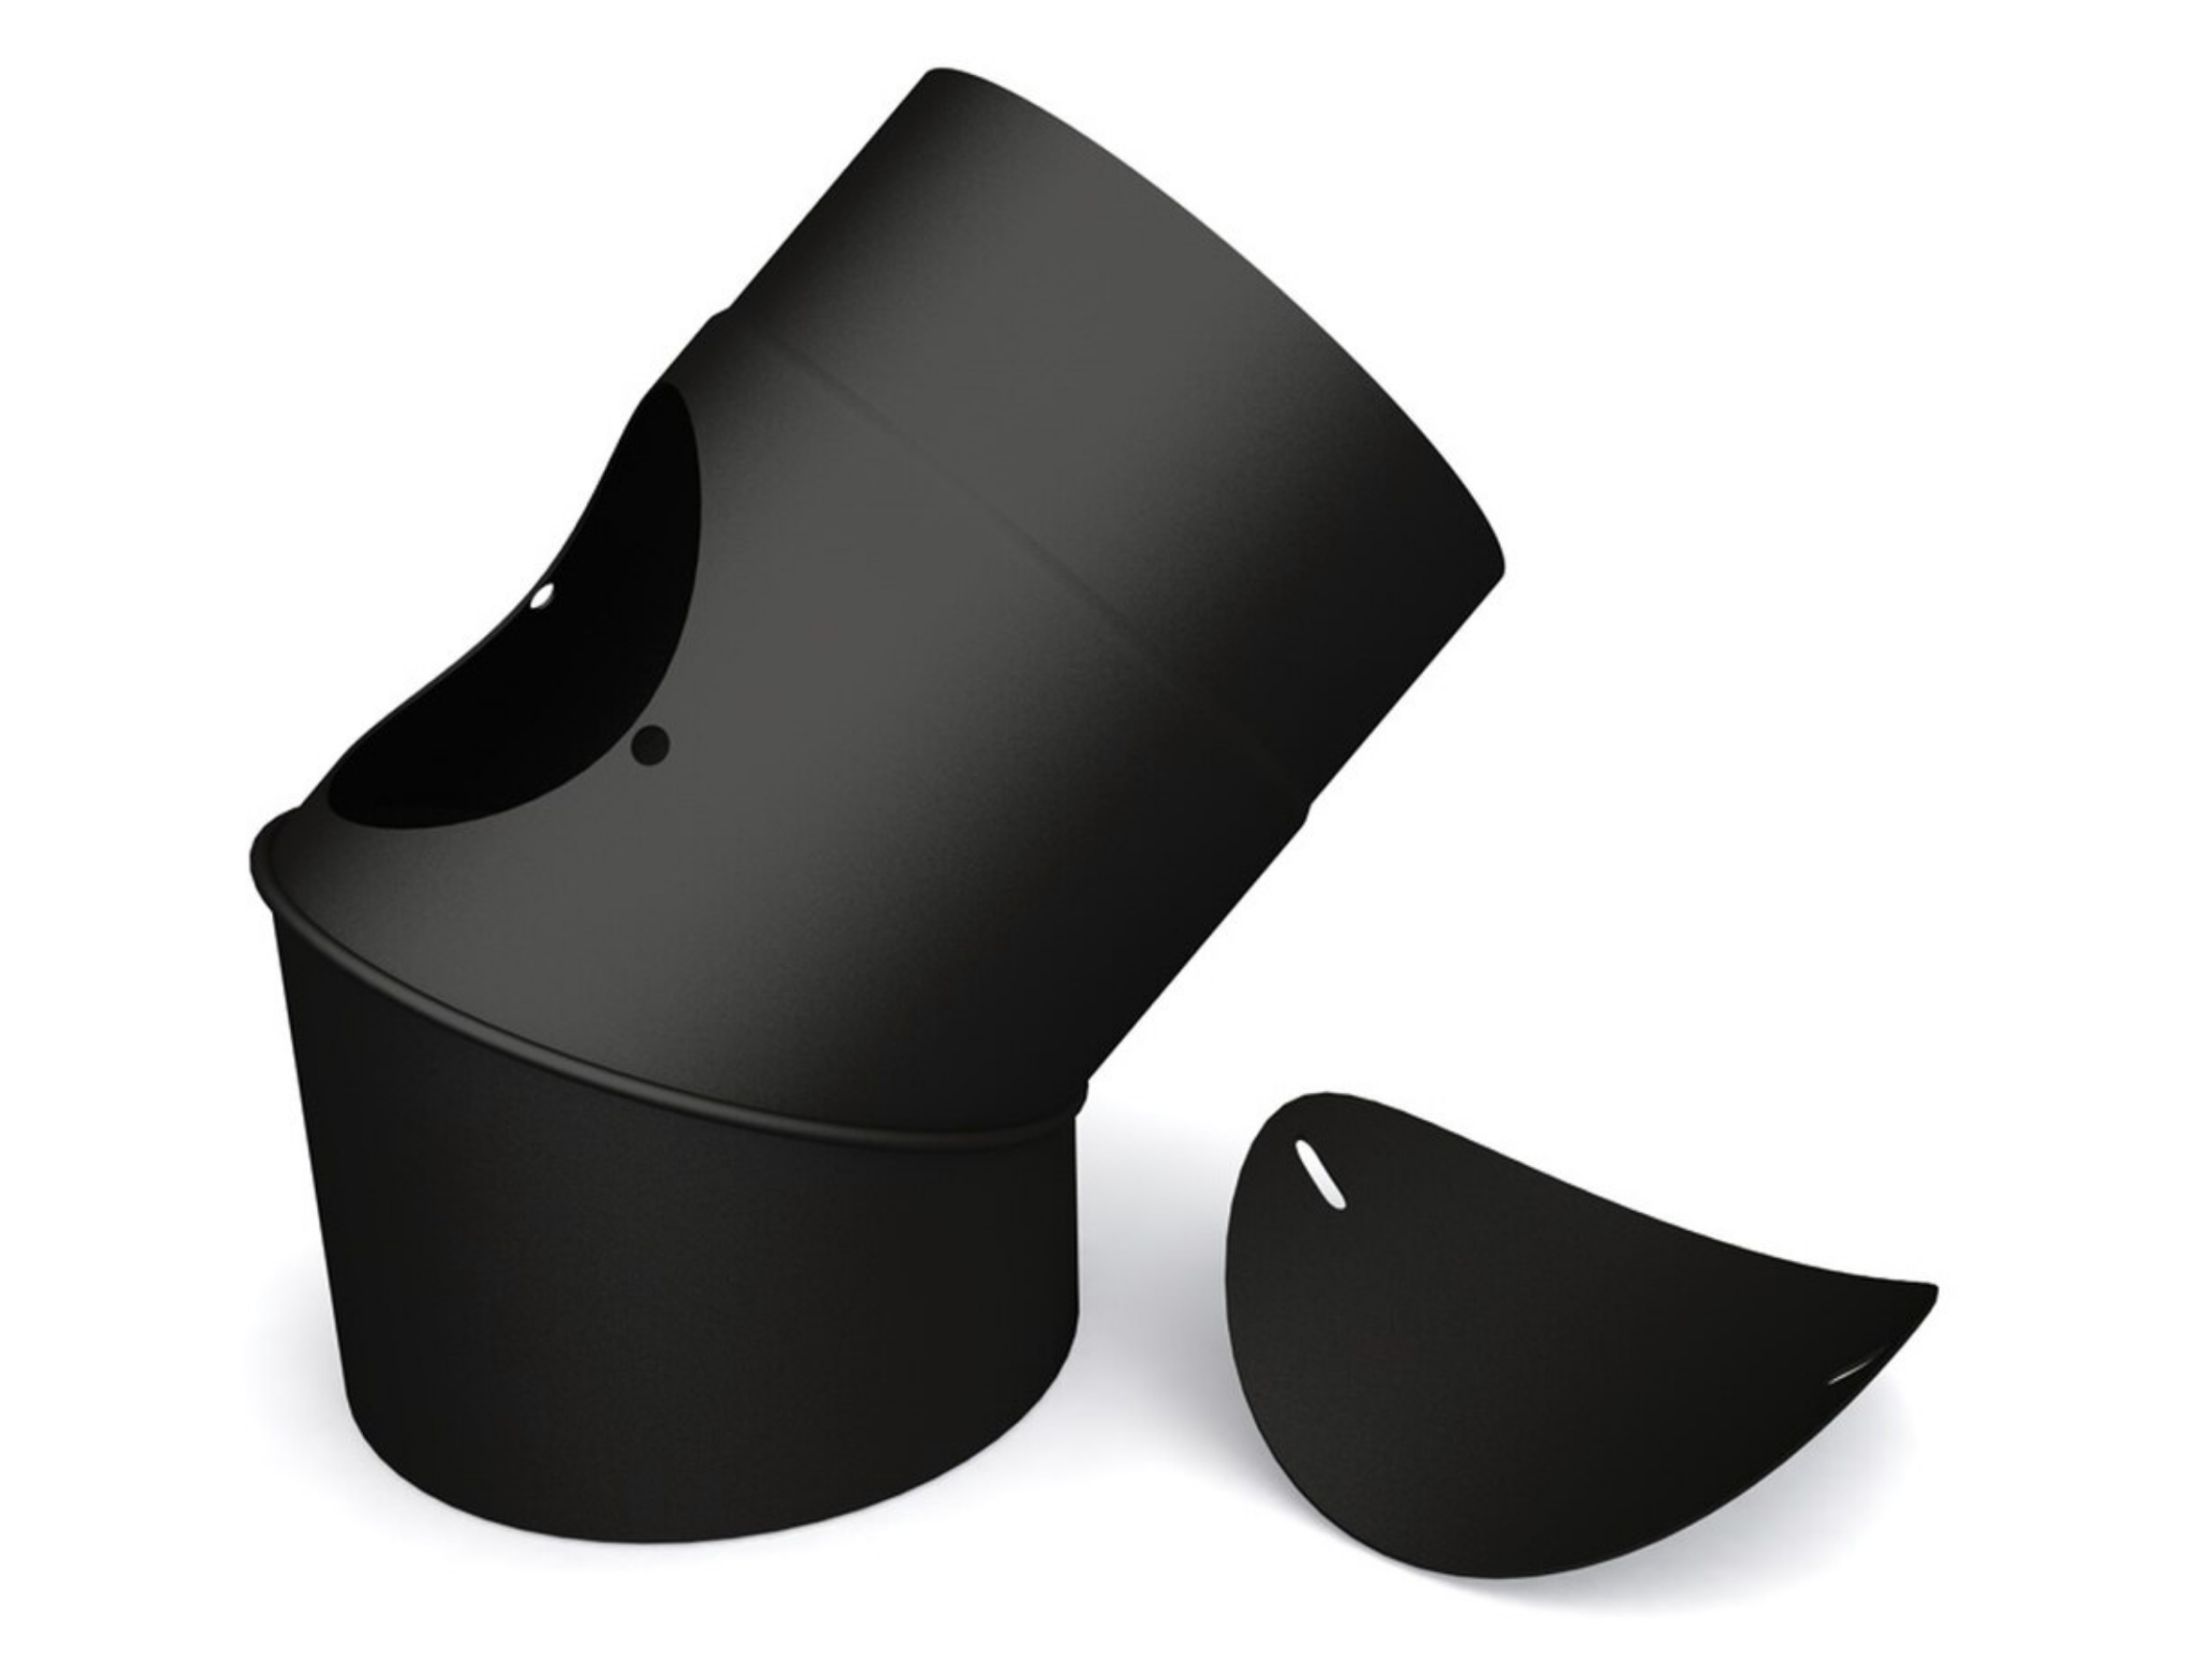
(Pictured: 4” 45 Degree Bend Matt Black Stove Flue Pipe With Door).
Perhaps the easiest option (particularly if your chimney cavity is large enough) is to position your stove right in the middle of the cavity and to connect to the flue liner vertically ( with a straight connector pipe). With this set up soot sweeping is usually done via the stove (if the stove design allows this), or via a soot door in the vertical stove pipe.
The final option, for when you want the entirety of your stove within your living space, is to pass your stove pipe, via 45 degree connectors, through a hole in your chimney breast and connected to your flue liner. If you’re worried about heat from the stove pipe damaging your mortar, you can protect it using fireproof rope or webbing.
Connecting the stove pipe to the flue liner
We’ve already covered what a flue liner is. But, what is a stove pipe?
The stove pipe is the visible pipe that extends out of the top or rear of your stove and goes up the chimney (or, if you have a twin wall flue pipe system, up to your wall or ceiling). As the stove pipe will be clearly visible in your living space, you’ll want to make sure you’re happy with its appearance.
Here, at Trade Price Flues, we have a wide variety of attractive stove pipes. Choose between matte black vitreous enamel stove pipes or stainless steel stove pipes to get your desired look.
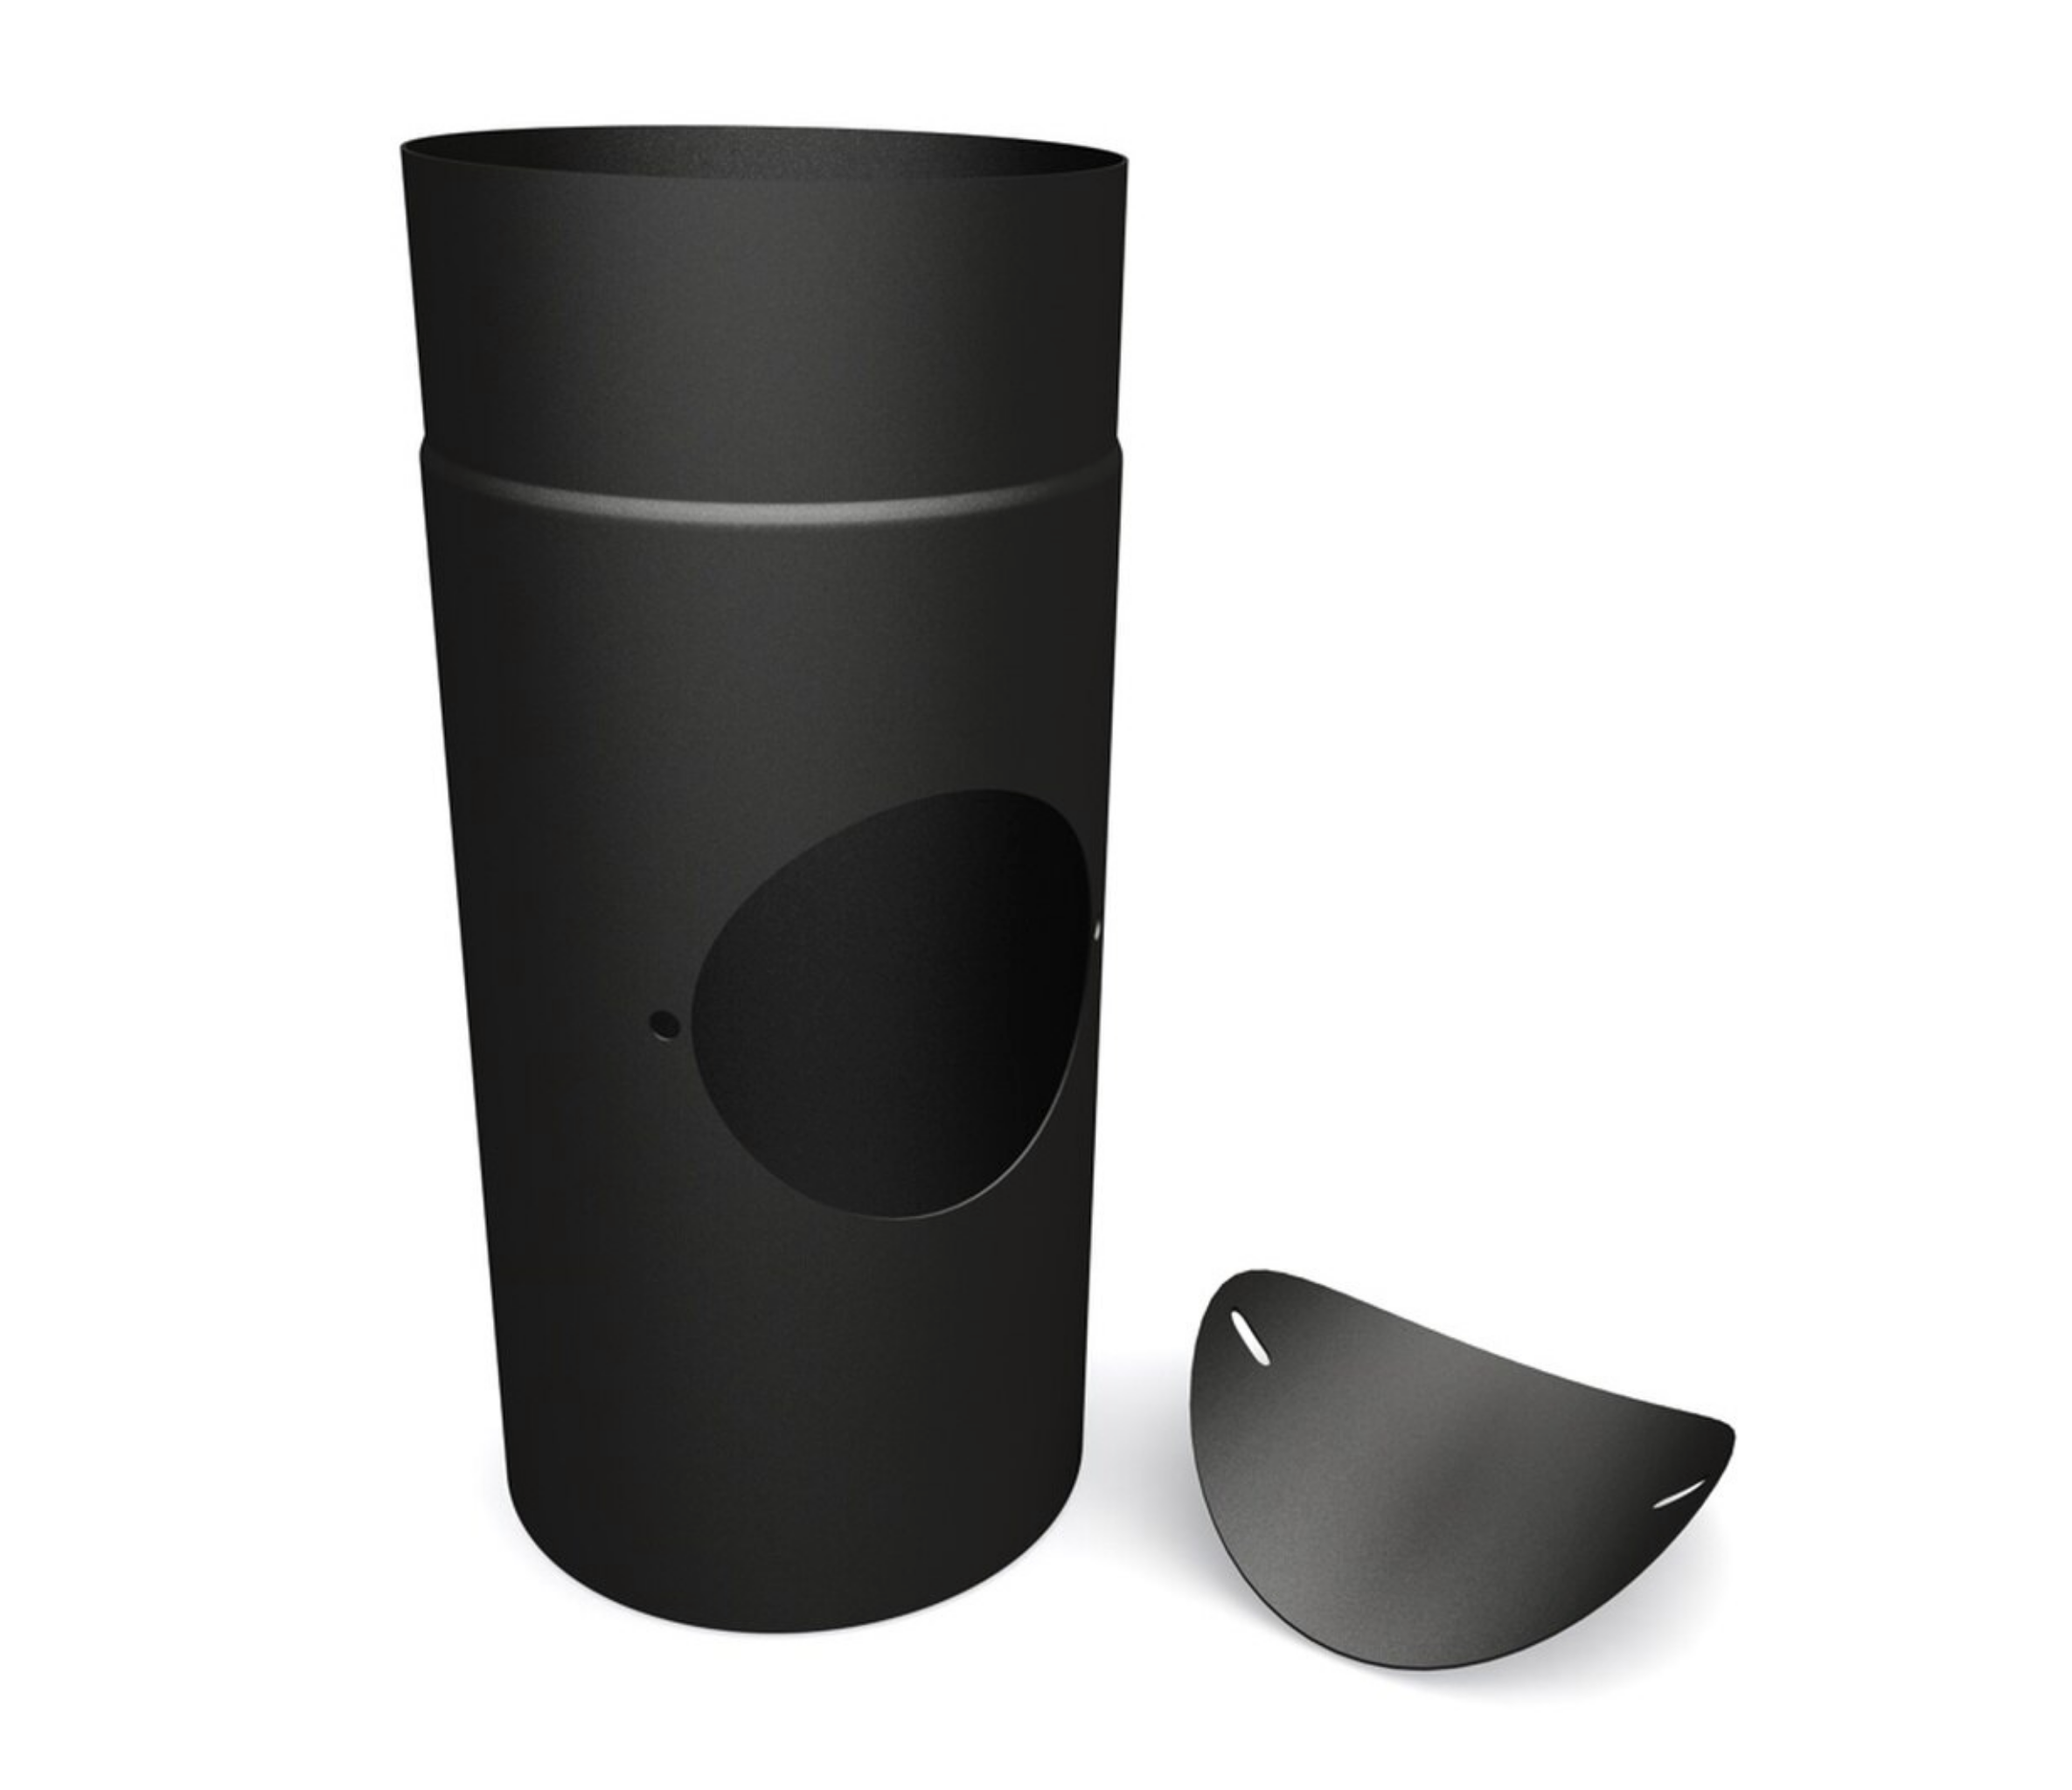
(Pictured: 4” 330mm Matt Black Stove Flue Pipe With Door).
Once you’ve selected your stove pipe, you’ll need to fit it securely to your stove collar. Any gaps could cause smoke and combustibles to escape and fill your living space. So, if you do discover a gap between the stove pipe and stove pipe collar what do you do? That very much depends on the size of the gap. If the gap is larger than 5mm then use fire rope to seal it up. If the gap is 4mm or smaller then you’ll need to use fire cement.
Having securely fitted your stove pipe to your stove, it’s now time to connect the flue liner to the stove pipe.
The quickest, easiest and safest way to connect your flue liner to your stove pipe is by using a stove flue pipe adapter (also known as a flex adaptor or connector). These adapters typically resemble inverse cones or collars, that sit between the stove pipe and flue liner. Adapters provide you with an easy way of connecting your stove’s pipe to the flue.
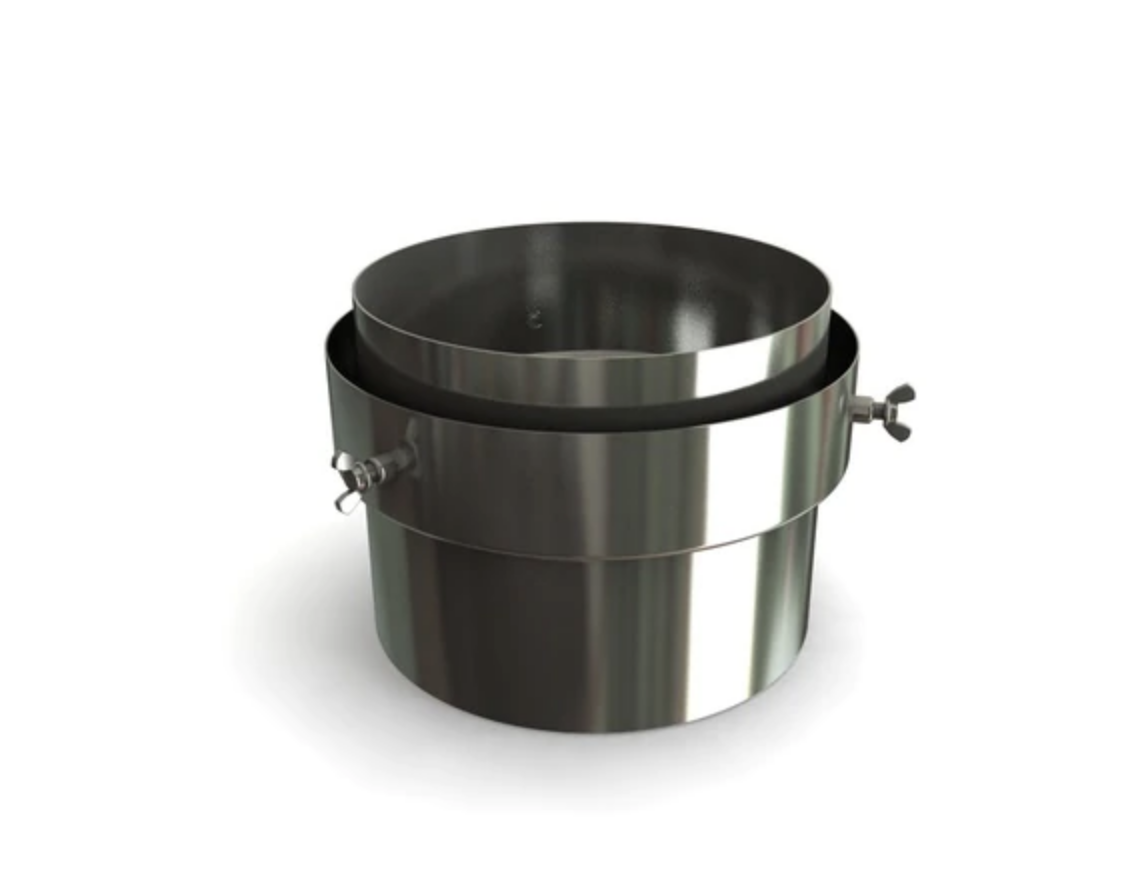
(Pictured: 5” - 6” Stove Flue Pipe Adapter).
When you come to connect the flue liner and stove pipe together, you should take the time to carefully apply fire cement of fireproof webbing to the ‘snout’ of the adapter (this is the end that connects to the stove pipe). This will help prevent any leakages of smoke or combustibles.
Next you need to apply fire cement to the inner rim of the adapter (the end that connects to the flue liner). Again, this will prevent any unwanted leakages. Having done this, you are then in a position to use the wing nuts on the outside of the adapter to lock everything in place. This will keep everything secure, especially when soot sweeping and other invasive activities are occurring within the flue liner and stove pipe.
And, there you have it! One fully connected flue liner and stove pipe.
Shop all of our stove flue pipe adapters at Trade Price Flues today!
Not quite sure what you need? Then contact us or use our live chat (it’s in the bottom right of your screen) and we’ll be happy to help you with some expert advice.
More buying guides and advice you might like…
Do I Need to Insulate My Chimney Liner? | How Do You Fit a Chimney Liner? | How Do You Put a Flue Through a Shed or Outhouse Roof?
Latest Articles
-

Air Pollution Down in the UK Despite Record Wood Burner Sales
Great news! Wood-burning stoves, once considered environmental villains, have transformed into eco-f …18th Apr 2024 -
A Guide to Stove Installation in Lodges, Sheds, and Shepherd’s Huts
Shepherd’s huts, lodges, and sheds have become increasingly popular as charming retreats or alternat …25th Mar 2024 -
Pinned vs. Pinless Moisture Meters: Which is Best for Firewood?
When you collect or buy firewood, it usually starts very moist inside. Using sopping wet wood to bur …4th Mar 2024

